1.Click the new button from the toolbar to create new label or barcode.
2. A blank area appears to create the barcode or label.User can resize this area according to the requirements.The dimensions related to the blank area like height and width are displayed at the bottom of the form as shown in above figure1.
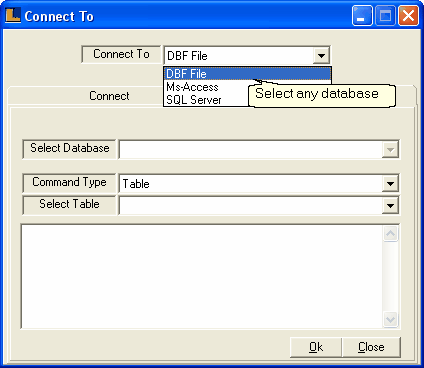
3. Now user need to connect with the database.Click the Data Field option from the toolbar and select the database.There are three options related to the database choose any one according to the requirements.For details see the Data Path.
Note : It is necessary to connect with database otherwise you are not able to create the barcode or label.
4. To insert the label from the tool bar click the label option.The label get inserted in the blank area.Now set the properties related to the label.It is optional to insert the label in the barcode.User can resize the label.User can insert the label if required.

5. Click the Add Field option in order to insert the database field in the barcode.User can resize the field and right click to set the properties from the popup menu.This field name appears in the print pre-view.It is optional to insert the field in the barcode or label.

More
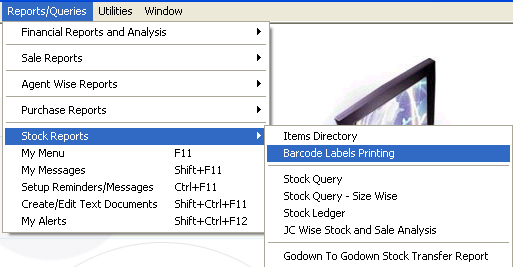
Steps To Insert the Field
6. Click the Barcode option in order to insert the barcode picture.User can resize the barcode picture and right click to set the properties from the popup menu.It is optional to insert the barcode picture.User can insert it if required.

More
Steps To Insert Barcode
7. Click the Add Image Field option to insert a field with picture from the database.User can resize the image field and right click to set the properties from the popup menu.When user insert this option in the barcode or label then the picture associated with the selected field is displayed in the barcode or label.This picture can be viewed in the print pre-view and not at the design time.

More
Steps To Add Image Field
8. Click the Add Image option to insert any image in the barcode or label.A blank area appears right click and select picture option to insert the picture.User can resize the image field before inserting the picture and right click to set the properties from the popup menu.

More
Steps To Add Image
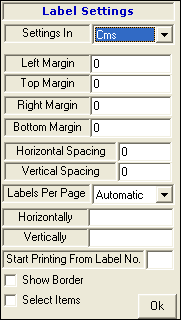
9. Now click on the Label Settings option from the bottom of the form to define the settings related label.Define the settings related to the label and click Ok.
More
Related To Label Settings
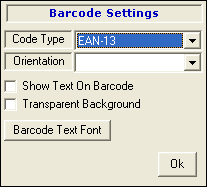
10.Click the Barcode Settings option from the bottom of the form to define the settings related to the barcode.Define barcode settings and click Ok.
More
Related To Barcode Settings
11. Now click on Save button from the toolbar > Save window appears,enter the name by which you want to save and click on Save button.
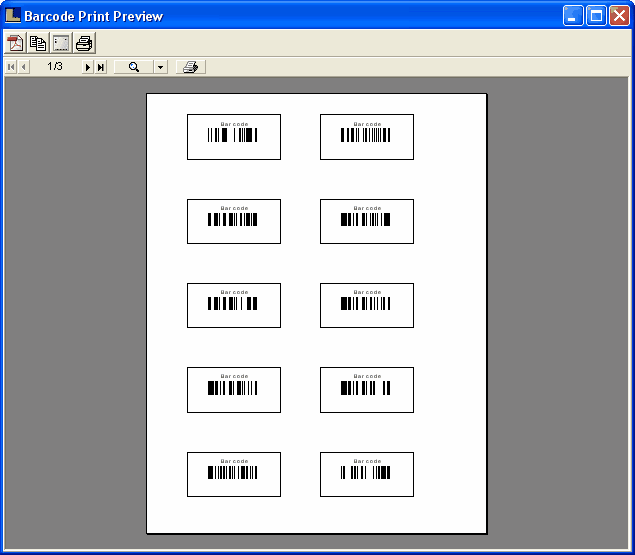
12. To view the print pre-view click the button at the bottom of the form > Barcode Print Pre-view window appears.User can change the settings related to the label and barcode if print pre-view is not according to the requirements.Make the necessary changes and save the changes before viewing the print pre-view other wise no changes appears.
More
Related To Barcode Print Pre-view
13. If the print pre-view is final then give the print command to print the barcode or labels.
|