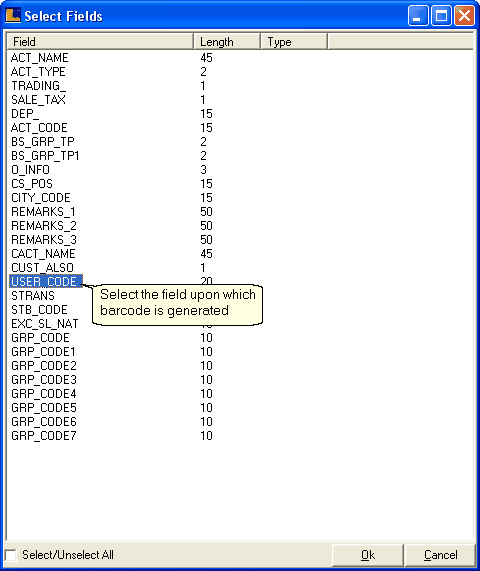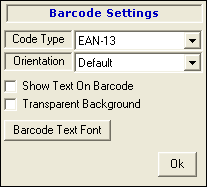
Code Type : Select any code type from the list.There are number of code types for example :-
1. EAN-13 is the main scheme used throughout Europe for retail article numbering.It is a numeric only coding scheme.
2. EAN-8 is a smaller and shortened version of the EAN code etc.
|
Select any code type according to the requirements.
Orientation : Select the orientation of the barcode from the list.User can set the required orientation according to the requirements and click the save button otherwise no changes appeared in print pre-view.The effect of orientation can appeared in the print pre-view and not on the design.For example : -
a) If the Default Orientation is selected then the barcode text appears at the bottom of the barcode as shown below :-
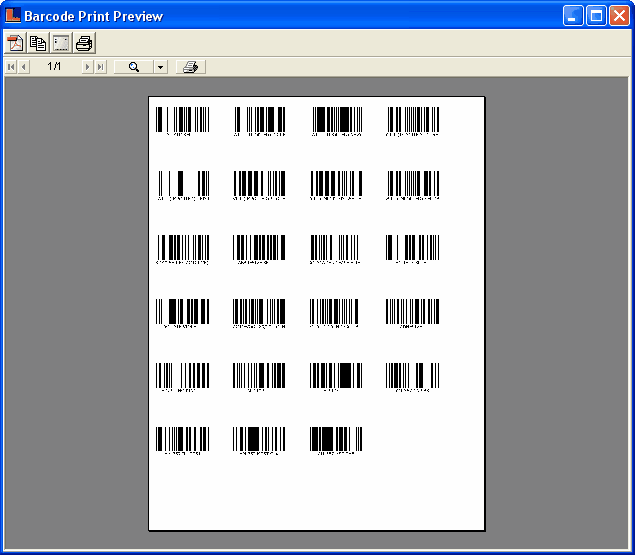
User can set the size of the barcode at the design time if the pre-view is not according to the requirements.
b) If the Left Orientation is selected then the barcode text appears on the left side of the barcode as shown below:
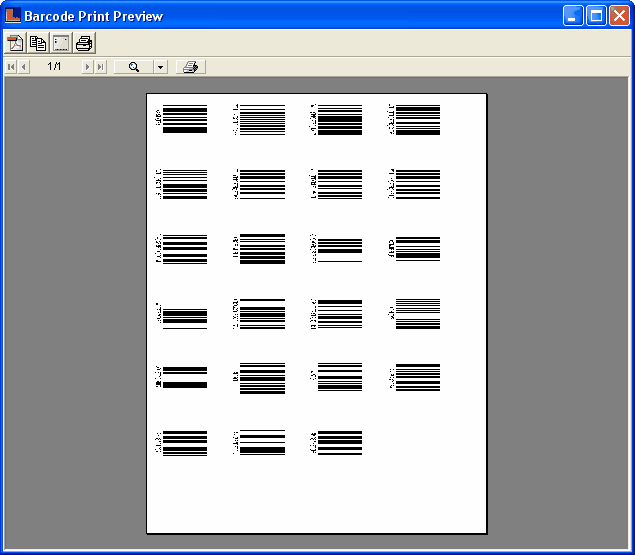
User can set the size of the barcode at the design time if the pre-view is not according to the requirements.
c) If the Right Orientation is selected then the barcode text appears on the right side of the barcode as shown below:-
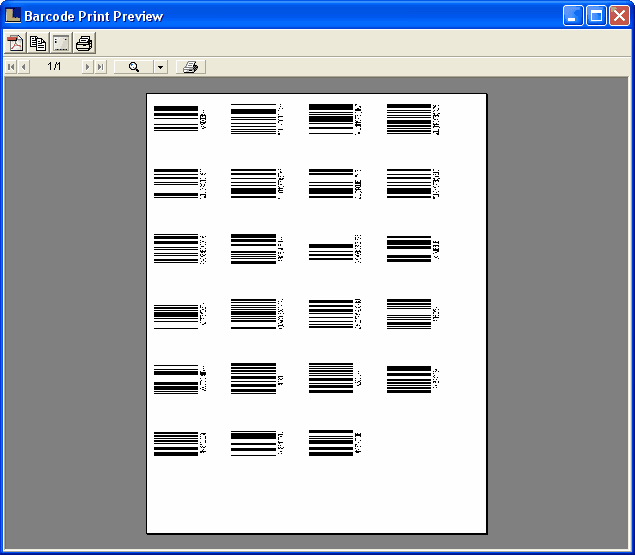
User can set the size of the barcode at the design time if the pre-view is not according to the requirements.
d) If the Flip Vertical Orientation is selected then the barcode text appears at the top of the barcode as shown below :-
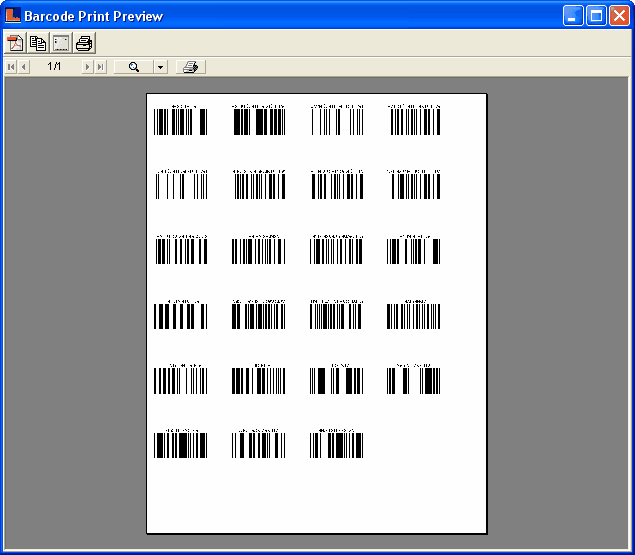
User can set the size of the barcode at the design time if the pre-view is not according to the requirements.
Show Text On Barcode : Check the box in order to view the text of the barcode.This text will appears only in the print pre-view not on the design.If this box is not checked then no text appears on any side of the barcode as explained above in orientation.
Transparent Background : Check the box to select transparent background of the label.
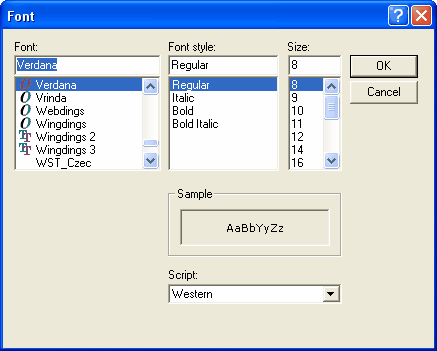
Barcode Text Font : If the text on the barcode not appears according to the requirements then set the font of the barcode text.To set the font of the barcode text,follow the under mentioned steps to set the font :-
a) Click the button.
b) Font window appears.
c) Set the font,font style and size from the window and click Ok.
|