Setup Employees : In order to define the employee follow the under mentioned steps :-
1.
|
Click the Payroll option and select the Setup Employees from the list.
|

2.
|
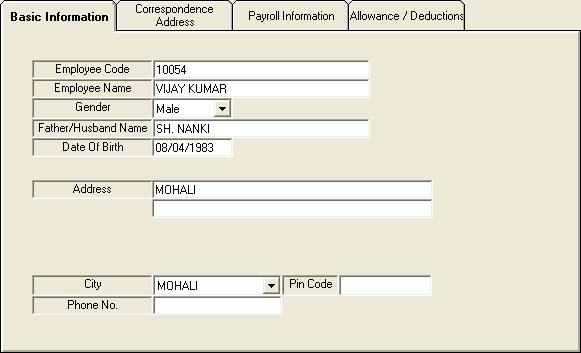
Setup Employees form appears.This form enables the user maintain the details of the employee or new employee.
|
|
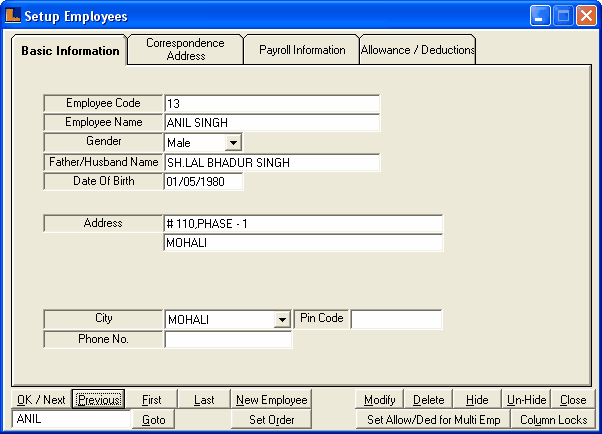
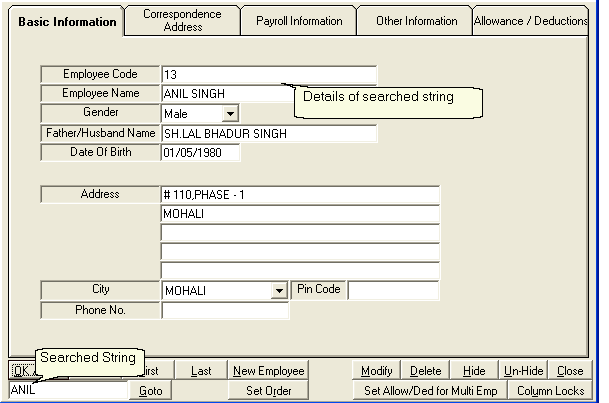
Enter the basic information related to the employee.
•
|
Employee Code : Enter the employee code manually,It is an optional column can be left blank.
|
•
|
Employee Name : Enter the employee name manually,It is a mandatory column can't be left blank.Employee name must be unique.
|
•
|
Gender : Select the gender from the list.
|
•
|
Father / Husband Name : Enter the father / husband name manually,it is an optional column can be left blank.
|
•
|
Date Of Birth : Enter the date of birth in specified format,It is a mandatory column can be left blank.
|
•
|
Address : Enter the complete address of the employee.It is optional to enter the employee address.
|
•
|
City : Select the city from the list.
|
•
|
Phone No / Pin Code : Enter the pin code and phone no. manually. Both the columns are optional can be left blank.
|
Pin code consist of maximum five digits.
|
•
|
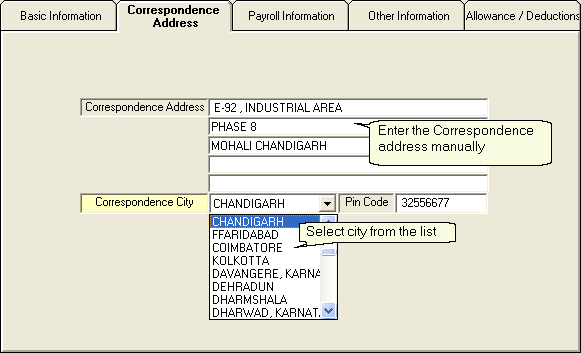
Correspondence Address : Enter the address manually,it is an optional column can be left blank.
|
•
|
Correspondence City : Select the city from the list.
|
•
|
Pin Code : Enter the Pin Code manually,It is an optional column can be left blank.
|
|
•
|
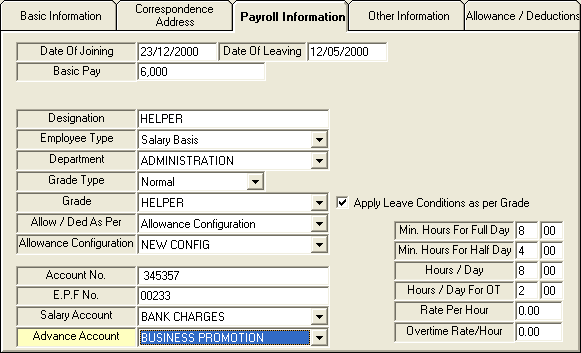
Date Of Joining : Enter the date of joining manually,it is a mandatory column can't be left blank.
|
•
|
Date Of Leaving : Enter the date of leaving manually,it is a mandatory column can't be left blank.
|
•
|
Basic Pay : Enter the basic pay manually.
|
•
|
Designation : Enter the designation of the employee manually.
|
•
|
Employee Type : Select the type of the employee from the list.
|
•
|
Department : Select the department of the employee from the list.
|
•
|
Grade : Select the grade of the employee from the list.
|
•
|
Allow / Ded As Per : Choose the Allowance / Deduction according to the list.If the Allowance Configuration is selected then set the configuration from Allowance Configuration list.
|
•
|
Account No : Enter the account no manually.
|
•
|
E.P.F.No : Enter the E.P.F.No manually.
|
•
|
Salary Account : Select the type of salary account from the list.
|
•
|
Advance Account : Select the advance account from the list.
|
•
|
Apply Leave Conditions As Per Grade : If the conditions are applicable then check the box.
|
|
•
|
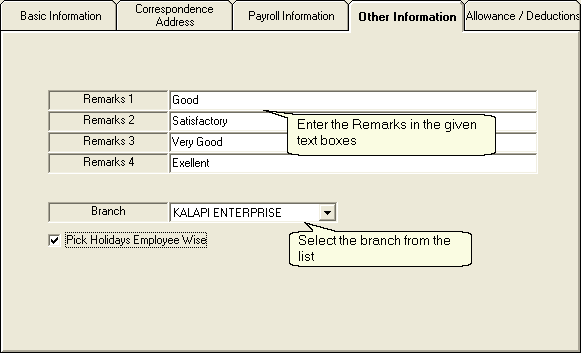
Remarks : Enter the remarks manually,these are optional can be left blank.
|
•
|
Branch : Select the branch from the list.
|
•
|
Pick Holidays Employee Wise : If the holidays are picked employee wise then check the box.
|
|
•
|
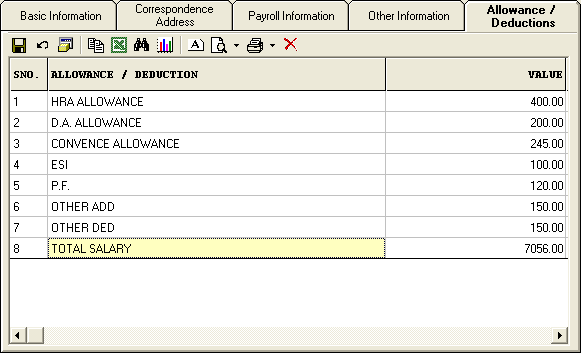
Allowance / Deduction : Enter the allowance / deduction name manually,It must be unique.It is a mandatory column can't be left blank.
|
•
|
Value : Enter the value of the allowance or deduction.It is a mandatory column can't be left blank.
|
|
•
|
Ok / Next : Used to save the current record and to move to the next record.
|
•
|
Previous : Used to move back to the record.If it is the first record then remains on the first record.
|
•
|
First : used to move to the first record.
|
•
|
Last : Used to move to the last record.
|
•
|
New Employee : Used to enter the new employee record.Click > a blank form appears > enter the details > click ok.
|
•
|
Goto : Used to move to specific location in the grid.Enter the a name and click Goto > the specified record is displayed in the basic information form.
|
•
|
Set Order : Used to set the order of employees according to user.The order is set in twos ways : User Define or Alphabetical order.
|
A) User Defined Order : Follow the steps to set the order :-
a)
|
Click The Set Order button or press Alt+R.
|
b)
|
Employees Order dialog box appears.
|
c)
|
Arrange the order according to the requirements.
|
d)
|
Click save button or press Alt+S.
|
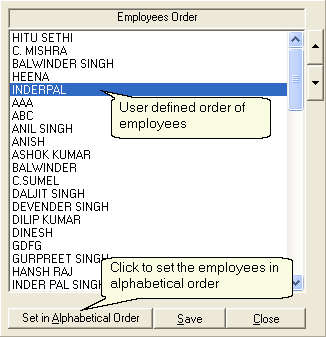
B) Alphabetical Order : Follow the steps to set the order :-
a)
|
Click The Set Order button or press Alt+R.
|
b)
|
Employees Order dialog box appears.
|
c)
|
Click the Set in Alphabetical Order button or press Alt+A.
|
d)
|
Click save button or press Alt+S.
|
|
•
|
Modify : In order to modify the existing record follow the under mentioned steps : -
|
a)
|
To modify a record click modify.
|
b)
|
Employee Search dialog box appears.
|
c)
|
Select the record which you want to modify and click Ok..
|
d)
|
The record is displayed with its Basic Information make the necessary modifications.
|
e)
|
Click ok to save the changes.
|
|
•
|
Delete : In order to delete the existing record follow the under mentioned steps : -
|
b)
|
Employee Search dialog box appears.
|
c)
|
Select the required employees and click Ok.
|
d)
|
Delete Confirmation dialog box appears.
|
e)
|
Click Yes to delete the selected employees.
|
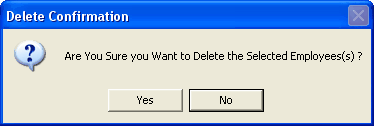
Delete Confirmation Dialog Box
|
•
|
Hide : In order to hide employees from the grid follow the under mentioned steps : -
|
b)
|
Employee Search dialog box appears.
|
c)
|
Select the required employees and click Ok.
|
d)
|
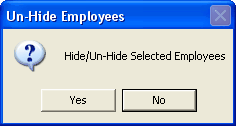
Un-Hide Employees dialog box appears, click Yes to hide the selected employees.
|

Un-Hide Employees Dialog Box
|
•
|
Un-Hide : In order to Un-Hide employees from the grid follow the under mentioned steps : -
|
b)
|
Employee Search dialog box appears.
|
c)
|
Select the required employees and click Ok.
|
d)
|
Un-Hide Employees dialog box appears > click Yes to Un-Hide the selected employees.
|
Un-Hide Employees Dialog Box
|
•
|
Set Allow / Ded for Multi Emp : In order to set the allowance / deduction for multiple employees follow the under mentioned steps : -
|
b)
|
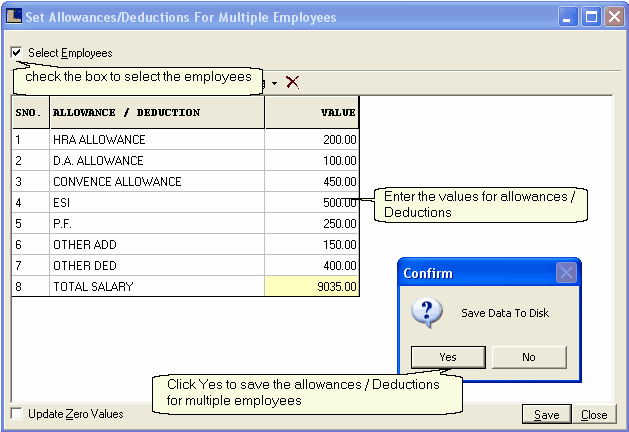
Set Allow /Ded For Multiple Employees form appears.
|
c)
|
To select the employees check the employee box.
|
d)
|
Employee Search dialog box appears.
|
e)
|
Select the required employees and click Ok.
|
f)
|
Enter the values for various allowances and deductions in the grid.
|
g)
|
Click save > Confirm dialog box > click Yes to save the data.
|
|
•
|
Column Locks : In order to lock the columns ( the columns are not shown in that particular form) follow the under mentioned steps :
|
b)
|
Setup employees dialog box appears.
|
c)
|
Select the columns which you want to be locked > click save.
|
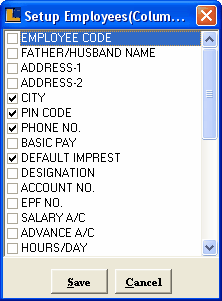
Setup Employees Dialog Box
|
|
|