
|
This option allows user to create user's own menu which is named as My Menu, so that user can add the important fields to this menu.
|
|
My Menu : Go to Gateway of Logic> My Menu.
|
 Main Menu: Main Menu:

FIG 1. GATEWAY OF LOGIC
|
Contents:
 Creating Groups Creating Groups
Creating Links
Deleting Groups & Links
Add Groups:
After selecting My Menu option, below given screen will appear.
Parent Group: To add parent group in the list, first click on the option Add Parent Group as highlighted in the below given figure.
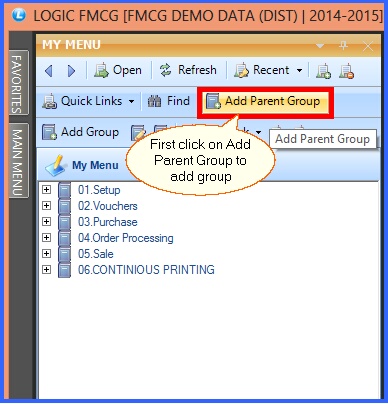
FIG 2. MY MENU
After adding parent group, user can rename the group's name.
Rename Group : For this click on the Rename Group button, as highlighted in the below given figure.
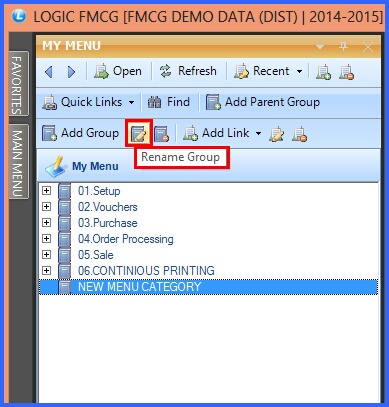
FIG 3. MY MENU
After clicking on Rename button, below given pop up will appear in the screen where user can rename the fields.
After renaming the fields, click on OK button to save the charges.
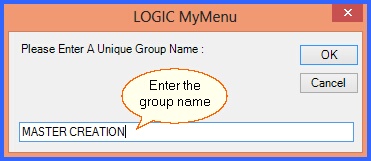
FIG 4. Logic My Menu
Add Links:
To Add Links under the selected Parent Group, click on the Add Link button.
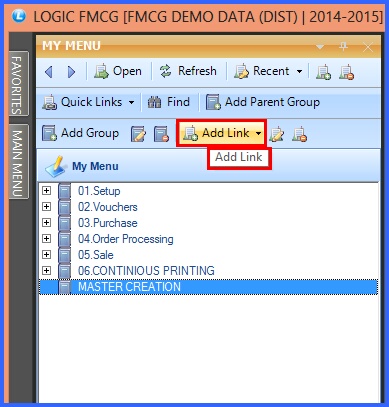
FIG 5. MY MENU
After selecting Add Link button, below given window will appear where user can select the required links from the list.
After selecting options click on Save button to save the links.

FIG 6. TREE VIEW OF MENU
By following the above mentioned steps, user can create his own menu. View of My Menu is shown in below given figure.
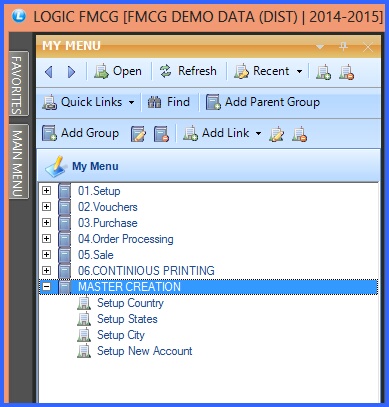
FIG 7. MY MENU
Deleting Links:
If user wants to delete any link then select the field which is to be deleted, as highlighted in the below given figure.
After selecting the link, click on the Delete Link button.
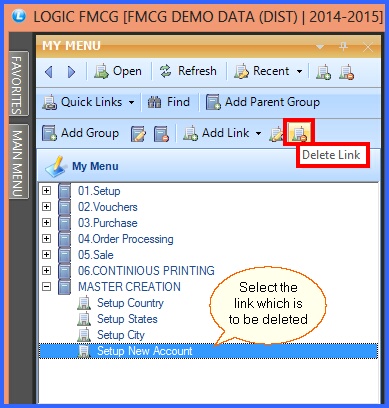
FIG 8. MY MENU
After clicking on Delete Link button, a delete confirmation dialogue box will come, press Yes to confirm deletion.
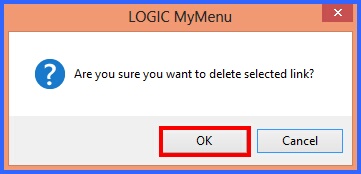
FIG 9. DELETE CONFIRMATION BOX
Deleting Groups:
If user wants to delete any group then select the field which is to be deleted.
After selecting link, click on the Delete Group button, as highlighted in the below given figure.
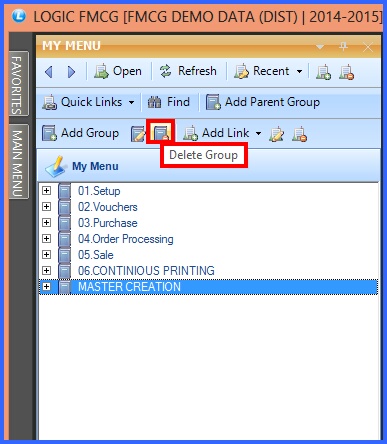
FIG 10. MY MENU
After clicking on Delete Group button, a delete confirmation dialogue box will come, press Yes to confirm deletion.
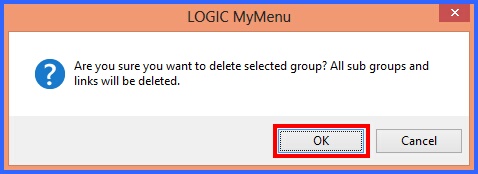
FIG 11. DELETE CONFIRMATION BOX
Back To Top
|