 To add the Items to newly created Group Right Click the mouse on the group. A small popup window will open which facilitates the user to Allocate Items or De-allocate items. To add the Items to newly created Group Right Click the mouse on the group. A small popup window will open which facilitates the user to Allocate Items or De-allocate items.
Contents:
Allocating Items To Group :
|
In order to allocate items to the groups, select a group (under which you want to allocate the items).
|
|
Then right click> select the Allocate Items/Groups from the popup menu or press Alt+A.
|
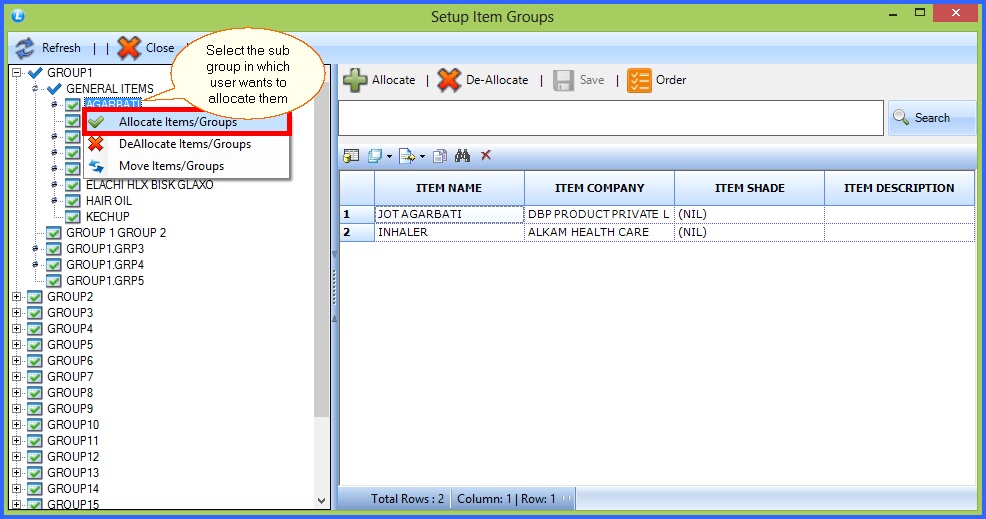
FIG 1.SETUP ITEM GROUPS
|
Item Selection Form dialog box appears select the required items and click OK.
|
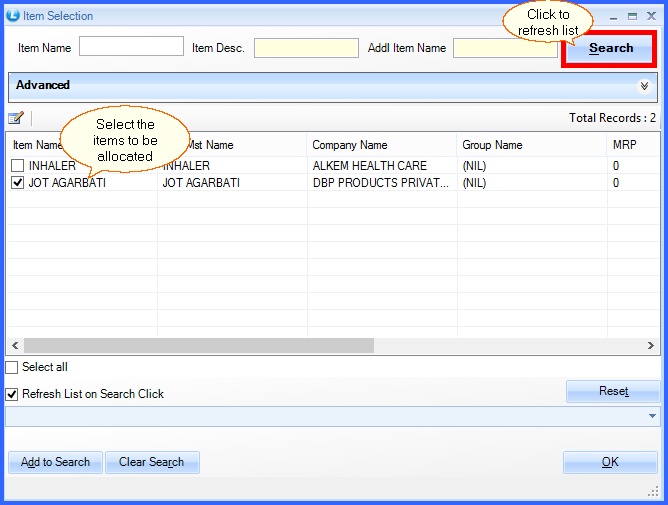
FIG 2. SETUP ITEM GROUP
|
After selection of the item, the item will come under the group as shown in the below given fig.
|
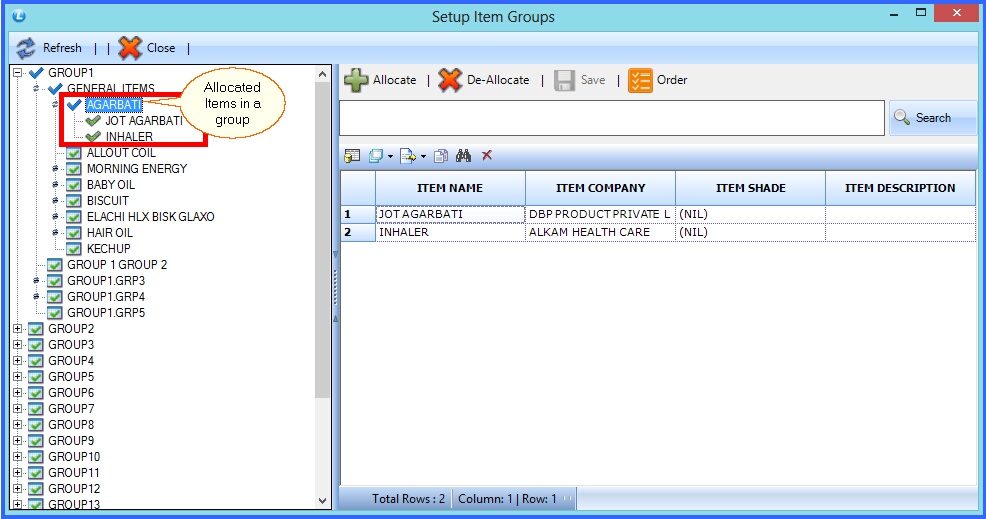
FIG 3. SETUP ITEM GROUP
De-Allocating Items To Groups :
|
In order to deallocate items from the groups, select a group (from which you want to de-allocate items).
|
|
Then right click> select the Delete Items from the popup menu or press Alt+D.
|
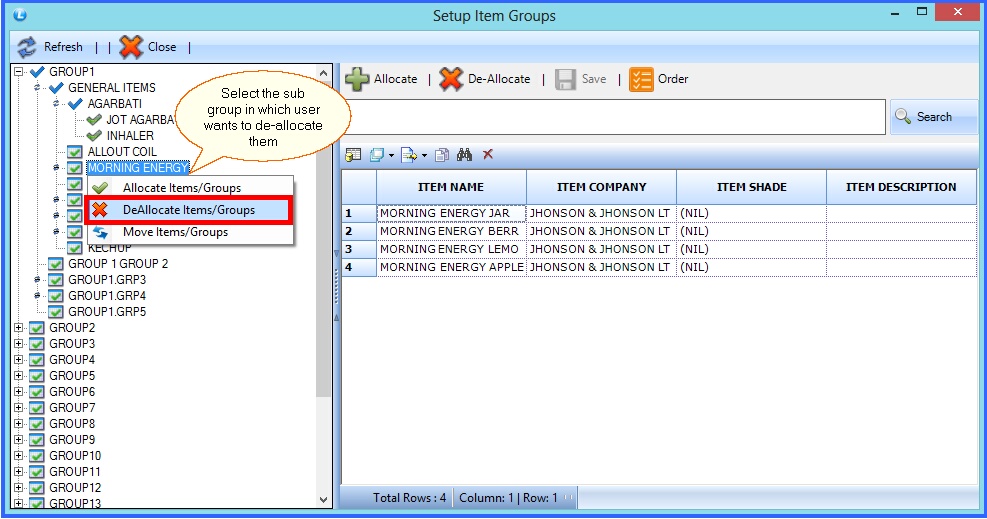
FIG 4. SETUP ITEM GROUP
|
Item Selection Form dialog box appears select the required items and click ok.
|
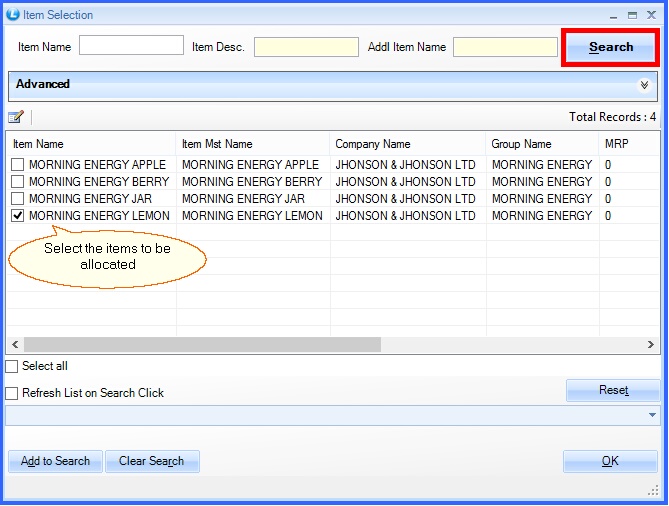
FIG 5. ITEM SELECTION
Back to Top
|