![]() If user have received a payment from debtors against an invoice which is not entered into the sale bill or the software. Then this option allows user to enter a receipt voucher against a new reference or the exiting reference made by the user.
If user have received a payment from debtors against an invoice which is not entered into the sale bill or the software. Then this option allows user to enter a receipt voucher against a new reference or the exiting reference made by the user.
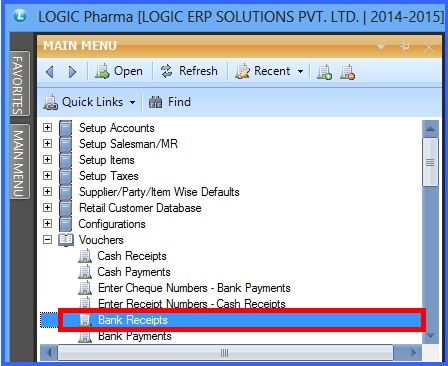
![]() Bank Receipts : Main Menu> Vouchers> Bank Receipts.
Bank Receipts : Main Menu> Vouchers> Bank Receipts.
Fig 1. Main Menu |
![]() After filling header details in bank receipt voucher, as shown earlier in Header Details.
After filling header details in bank receipt voucher, as shown earlier in Header Details.
![]() Fill the account details as shown in below given window.
Fill the account details as shown in below given window.
![]() References : Press space bar to add reference or adjust the voucher against the previous reference.
References : Press space bar to add reference or adjust the voucher against the previous reference.
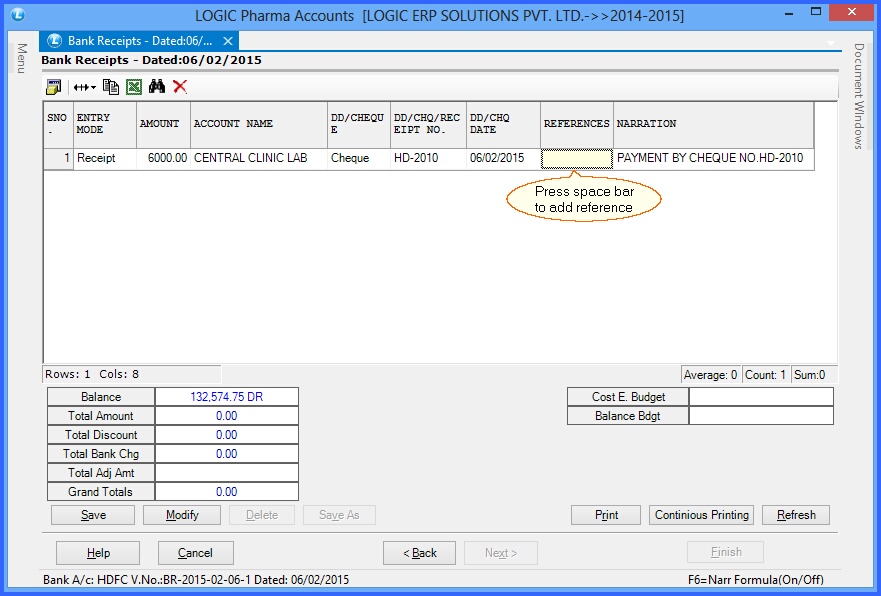
Fig 2. Bank Receipt (Account Details)
![]() After clicking on reference below given window will appear.
After clicking on reference below given window will appear.
![]() Against Reference : Click on against reference button if user wants to enter the bank receipt against the existing reference or the reference made by the user earlier.
Against Reference : Click on against reference button if user wants to enter the bank receipt against the existing reference or the reference made by the user earlier.
![]() New Reference : Click on new reference button if user wants to add new reference for the bank receipt voucher.
New Reference : Click on new reference button if user wants to add new reference for the bank receipt voucher.
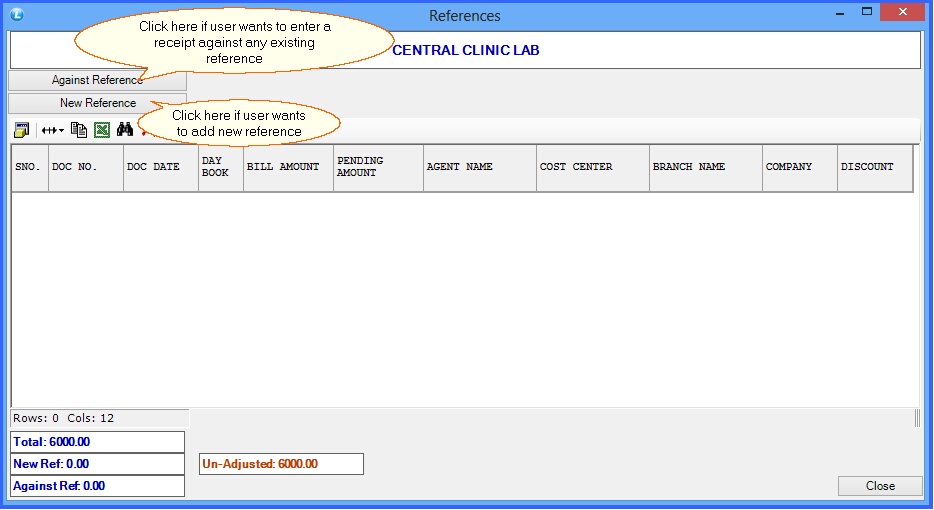
Fig 3. References
![]() After clicking on Add Reference below given window will appear where user can enter the reference details like Bill No, Cost center & Element Agent , Amount etc.
After clicking on Add Reference below given window will appear where user can enter the reference details like Bill No, Cost center & Element Agent , Amount etc.
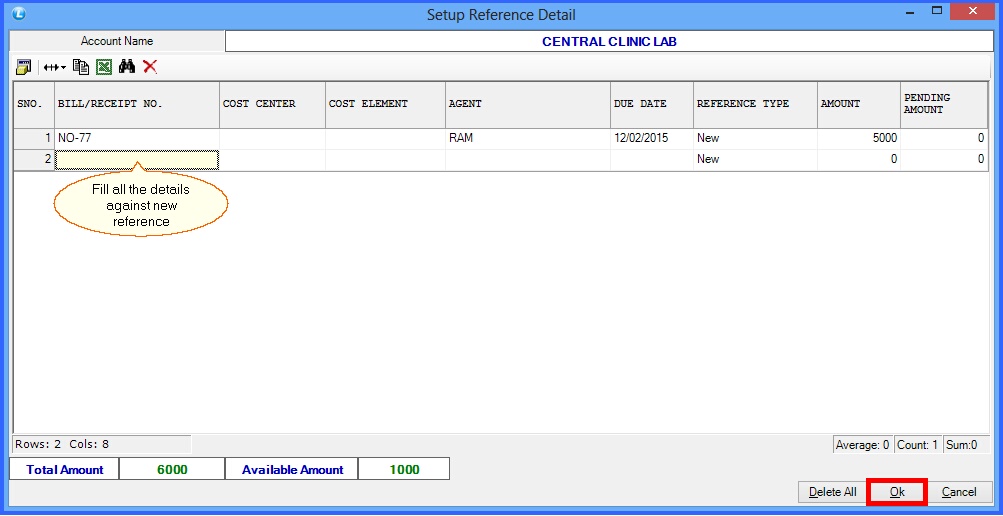
Fig 4. Setup Reference Details
![]() After entering reference details the below given window will appear in which the reference details will come under yellow color.
After entering reference details the below given window will appear in which the reference details will come under yellow color.
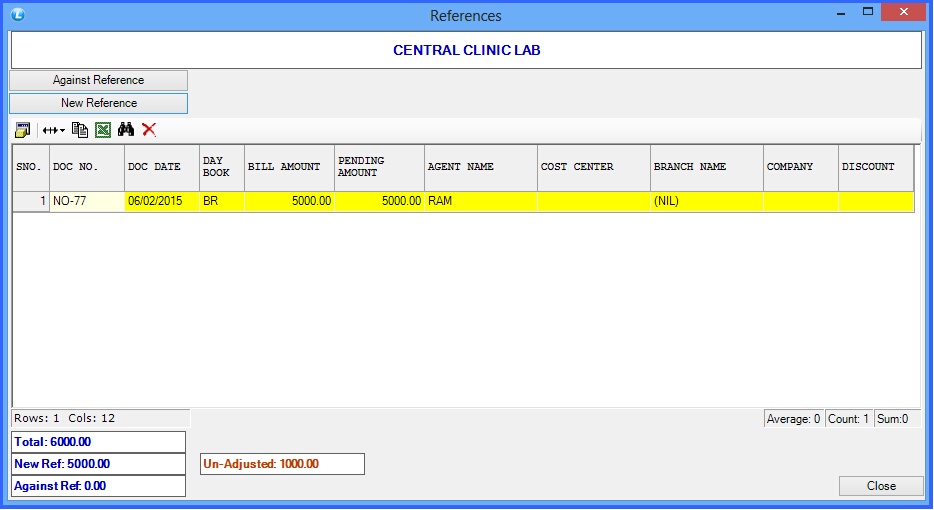
Fig 5. References